Account Setup
Personal Settings
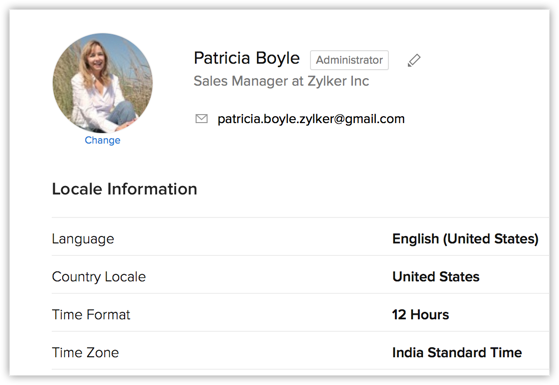
First, personalize your CRM account by changing language and time zone. Also, add your personalized signature to be used for business emails sent via Zoho CRM.
Organization Settings
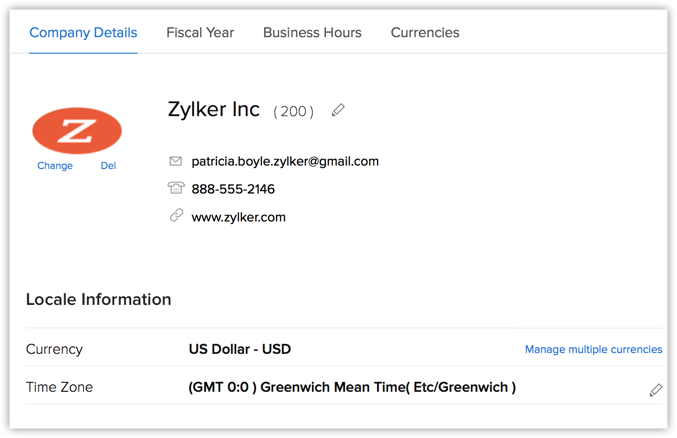
- Company details: Add your company details such as the company name for all your business communication, country locale, time zone and also the company logo. Note that the image file size should not exceed 20 KB and for best results, use an image with 190 (width) by 65 (height) pixel dimensions.
Fiscal Year: Set up the fiscal year for your company which is used for accounting purposes and preparing financial statements. The fiscal year may not be the same as the calendar year. Select the fiscal start month, then the fiscal quarters are automatically rolled up.

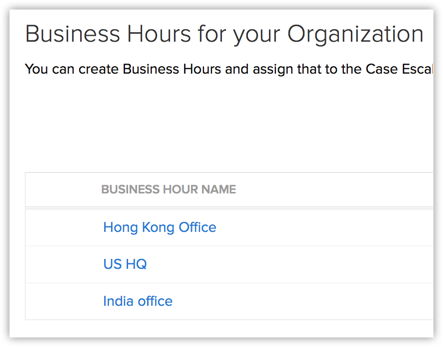
Business Hours: Various teams in your organization may work at different business hours and work in shifts based in different time zones. Define your business hours that will be helpful in assigning cases to individuals using the case escalations rules.
Users, roles and profiles
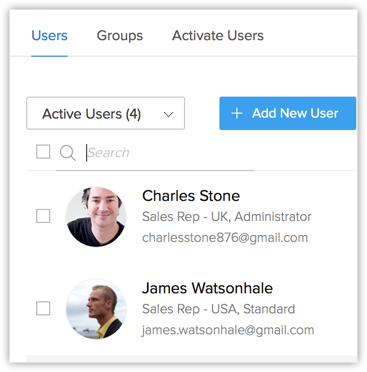
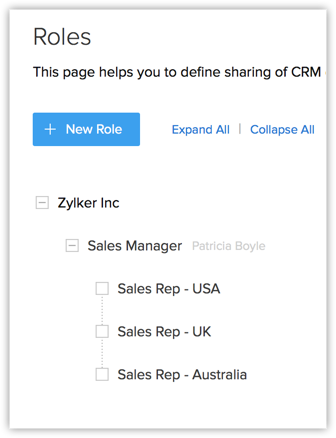
Users: Add users to your CRM account and assign them roles and profiles. Note that only after you add a user in your account, will you be able to add new profiles and roles. For the first user that you add, the system defined role (CEO, Manager) and profile (Administrator, Standard) can be assigned. See Also FAQ
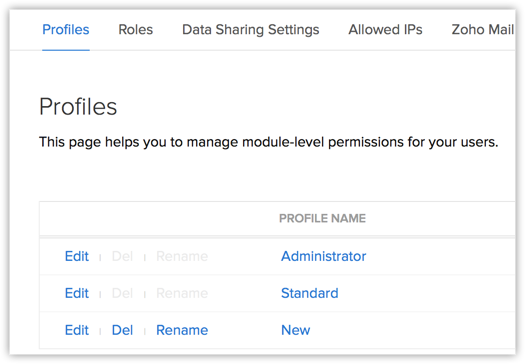
Profiles: Create profiles that define the access permissions to the various CRM modules and features.
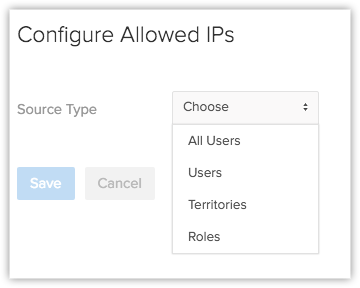
Security Settings
Secure your CRM account by defining specific IP addresses allowed for specific users. Define data sharing rules to ensure that your data is shared only with users who need to work with them.
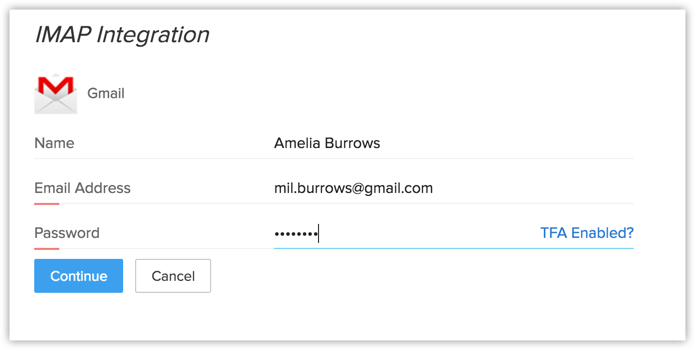
Email Settings
Configure your email account in Zoho CRM via IMAP to work with sales as well as email from one place.
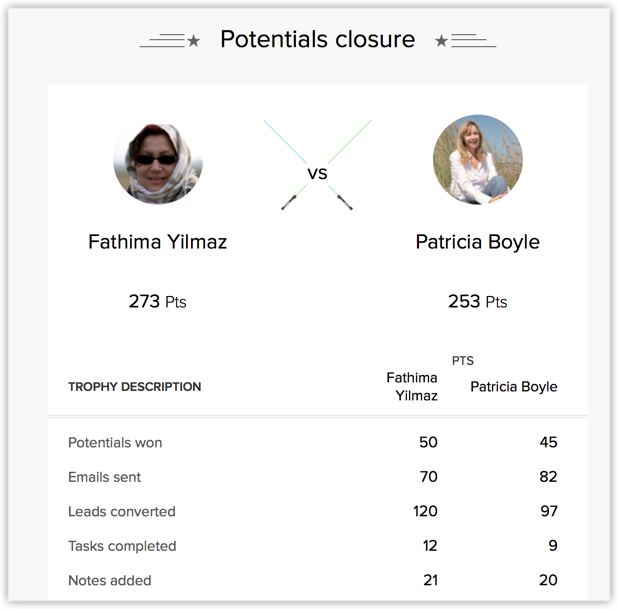
Gamescope
Make sales more fun by configuring sales contests and rewarding your team members with trophies and badges.
Related Articles
Copy Customization Zoho CRM
Process Copy Customization The Copy Customization feature helps experts from different verticals to custom-build Zoho CRM, as per industry specific requirements, and then deploy the customized CRM into other related CRM accounts. The Zoho CRM user ...Empezando
Empezando Aquí, se le presentará una serie de funciones y conceptos útiles que lo ayudarán a comenzar a trabajar con su cuenta CRM. Le proporcionará la información necesaria para completar las tareas esenciales necesarias para comenzar y aprovechar ...ZOHO CRM Guía de Usuario
Zoho CRM: descripción general Zoho CRM es un software de gestión de relaciones con el cliente (CRM) bajo demanda para gestionar las relaciones con sus clientes de forma eficiente. Es eficiente porque Zoho CRM ayuda a optimizar las funciones de ...Zoho CRM Setup - A Quick Tour
This will help you understand and work on major administrative settings available in Zoho CRM, such as: Defining organization and personal settings. Creating users, roles, and groups.Managing Accounts
Managing Accounts In a typical Business to Business (B2B) scenario, Account represents a Company or a Department within the company, with which your organization is currently doing business with or is planning to do business with in the future. An ...